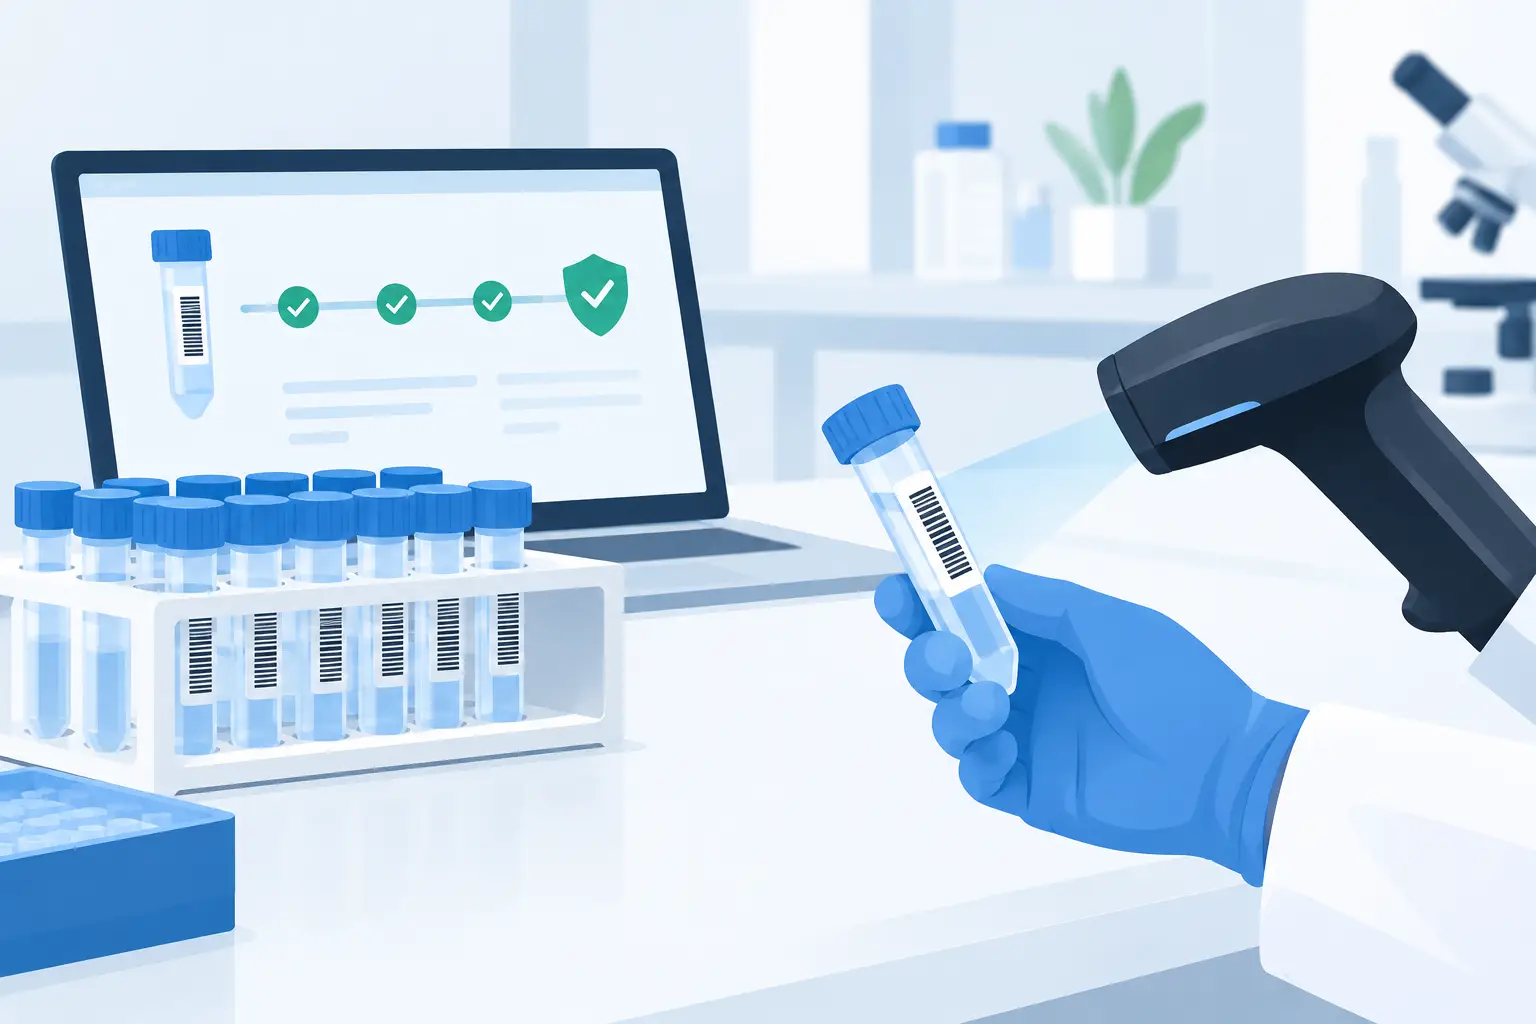
A tube without a reliable identifier is not just an organizational problem. It is a traceability gap that can compromise experimental results, delay investigations, and create uncertainty about what happened to a specimen. Barcoding laboratory samples gives each physical item a machine-readable identity that follows it from receipt through processing, storage, analysis, and final disposition.
For laboratories handling high sample volumes, multiple storage locations, or regulated workflows, barcodes replace handwritten labels and manual data entry with controlled, auditable transactions. The result is not merely faster scanning. It is a more dependable chain of custody between the sample, its metadata, its storage position, and the work performed on it.
Why Barcoding Laboratory Samples Matters
Sample identifiers are often copied across notebooks, spreadsheets, instrument software, shipping forms, freezer maps, and reports. Every manual transcription creates an opportunity for a misplaced digit, an ambiguous abbreviation, or an incorrect sample-to-result association. These errors are difficult to identify after the fact, particularly when samples have been aliquoted, pooled, diluted, or moved between teams.
A barcode allows laboratory personnel to retrieve or record a sample identity with a scan rather than a keystroke. When connected to a LIMS or laboratory management platform, that scan can validate the sample, display its current status, document the user and timestamp, and direct the next workflow step. The barcode becomes the link between a physical container and its digital record.
This distinction matters because a barcode alone does not create traceability. A printed label only identifies an item if the associated database record is accurate and maintained. Traceability comes from pairing the barcode with structured data: sample type, source, collection date, consent or accession details where applicable, processing history, storage location, parent-child relationships, and disposition status.
Start With a Sample Identity Model
Before selecting printers or scanner hardware, define what a barcode represents in the laboratory. In most workflows, the barcode should encode a unique, non-meaningful identifier rather than a long string of descriptive information. The system can then associate that identifier with the details users need to see.
A non-meaningful identifier reduces the risk of exposing sensitive information on a label and avoids the need to change labels when metadata changes. For example, a tube may be relabeled only when its barcode is damaged, not because its project assignment or analytical status has changed. This approach is particularly useful for clinical laboratories, biobanks, and collaborative research programs where the same sample may support multiple studies over time.
The identity model should also account for derivations. A primary specimen may generate extracts, aliquots, fractions, libraries, or assay plates. Each child item needs its own unique barcode and a recorded relationship to the parent. Without this hierarchy, laboratories can identify individual tubes but cannot reconstruct lineage when a result needs to be reviewed.
Use IDs That Support Long-Term Operations
Avoid building critical meaning into the identifier itself, such as project names, freezer numbers, or researcher initials. These details can change. A stable ID should remain valid whether the sample is transferred to another freezer, reassigned to another study, or reviewed years later.
Human-readable text remains valuable as a fallback when a scanner is unavailable or a label is partially damaged. A practical label usually includes a short human-readable sample ID, the barcode, and limited context such as sample type or date. The appropriate amount of text depends on container size and workflow risk. A 0.5 mL microtube has different constraints than a cryobox or shipping container.
Choose Barcode Symbology and Labels for the Environment
The right barcode format depends on what must be identified, how much space is available, and the scanning conditions in the laboratory. One-dimensional barcodes are efficient for short identifiers and work well on tubes, vials, and printed documents. Two-dimensional codes, such as Data Matrix or QR codes, can hold more data in a smaller footprint and may be more tolerant of partial damage.
For most laboratories, the question is not which format holds the most information. It is which format can be scanned consistently throughout the workflow. A code that works on a desktop scanner but fails after freezing, centrifugation, solvent exposure, or condensation is not suitable for production use.
Label material and adhesive deserve the same level of review as barcode symbology. Cryogenic storage may require labels that remain adhered and legible at very low temperatures. Chemical workflows may require resistance to alcohols, dimethyl sulfoxide, xylene, or other reagents. Thermal-transfer labels generally provide better durability than standard office labels, but the printer ribbon, label stock, and container surface must be tested together.
Print quality control is also essential. Poor contrast, distorted printing, wrinkles, and label placement over curved surfaces can prevent reliable scanning. Laboratories should test representative labels on every container type, including tubes, plates, slide boxes, bags, racks, and cryoboxes.
Build Scanning Into Real Workflow Steps
Barcoding is most effective when scans occur at the points where custody, status, or location changes. Receiving is a common starting point: scanning an incoming specimen can confirm that the item matches the order, accession, manifest, or collection record. The system can then assign a storage location, print a replacement internal label if needed, and flag discrepancies before downstream work begins.
During processing, scanning should confirm the sample before a user creates an aliquot, adds a reagent, initiates an extraction, or loads an instrument. In plate-based workflows, scanning both the source tube and destination plate can document exactly where material was transferred. This is especially important for high-throughput sequencing, molecular diagnostics, and assay development, where a single position error can affect many results.
Storage transactions should be equally controlled. A scan can record movement from a bench to a refrigerator, freezer, rack, box, and position. For large inventories, scanning the container and the storage location is more reliable than updating a freezer map by hand. It also helps laboratory staff find material without opening multiple boxes and exposing samples to unnecessary temperature changes.
The same principle applies to retrieval and disposal. When a sample is checked out for an experiment, the barcode scan should record who removed it, why it was removed, and whether it must be returned. When material is exhausted or discarded, the system should preserve the disposition record rather than simply deleting the sample from inventory.
Connect Barcodes to LIMS, ELN, and Instrument Data
A barcode program should not operate as an isolated labeling project. Its value increases when the identifier is shared across the laboratory's systems of record. The LIMS manages samples, workflow states, locations, and audit trails. The electronic laboratory notebook can associate scanned samples with experimental context, observations, calculations, and attachments. Instrument integration can connect run files and results to the correct sample or plate without relying on manual file naming.
This integration reduces fragmented data. Instead of searching for a tube number in one spreadsheet, a freezer position in another, and an instrument output in a folder, users can follow the sample record across its lifecycle. In a configurable environment such as LabCollector, barcodes can support sample registration, inventory control, storage management, workflow transactions, and experimental documentation within a connected digital system.
Integration also supports exception handling. If a scanned sample is expired, quarantined, assigned to another workflow, or inconsistent with the expected sample type, the system can alert the user before the next step proceeds. The precise controls should reflect the laboratory's risk profile. A discovery research group may prioritize flexibility, while a clinical or GxP environment may require stricter permissions, required fields, and electronic audit trails.
Validate the Process, Not Just the Hardware
A scanner successfully reading a label is only the first test. Laboratories should validate the full workflow: label generation, scan accuracy, database lookup, user permissions, storage assignment, sample derivation, instrument association, and reporting. Test realistic scenarios, including duplicate labels, unreadable codes, incorrect sample selection, offline devices, and samples that arrive without an internal barcode.
Training should focus on the reason for each scan as well as the mechanics. Users are more likely to follow the process when they understand that scanning an aliquot before transfer protects sample lineage, or that scanning a freezer position prevents an extended search during a time-sensitive experiment.
Governance matters after deployment. Establish who can create barcode formats, approve label templates, correct records, merge duplicates, and retire damaged identifiers. Changes to these controls should be documented, especially in regulated environments. A barcode system is a controlled operational process, not a one-time equipment purchase.
Measure What Changes After Implementation
The clearest indicators are operational. Laboratories can track time spent locating samples, the number of unidentified or mislocated containers, transcription corrections, inventory reconciliation effort, and turnaround time from receipt to result. Quality teams may also review chain-of-custody completeness, audit findings, and the frequency of sample-related deviations.
Not every laboratory needs the same level of automation on day one. A small research group may begin by barcoding new samples and freezer locations, then add aliquot tracking as volume grows. A biobank or service laboratory may need a broader deployment that includes accessioning, plate handling, storage mapping, and integration with instruments from the outset. The appropriate scope depends on sample volume, complexity, compliance requirements, and the cost of a traceability failure.
The practical goal is simple: every scan should make the sample record more trustworthy. When personnel can identify a specimen, locate it, understand its lineage, and verify its handling history in seconds, barcoding becomes a foundation for controlled laboratory operations rather than another administrative task.
See LabCollector on Your Own Workflows
LIMS, ELN, test management, storage and instrument integration on one platform — start free, or have us walk you through it.
Learn more: LabCollector LIMS · Electronic Lab Notebook · Contact · About
 English
 French
 Spanish
 Portuguese
 Italian
 Polish
 German
 Dutch
 Danish
 Swedish
 Greek
 Norwegian
 Finnish
 Romanian
 Hungarian
 Czech
 Slovak
 Hebrew
 Arabic
 Japanese
 Korean
 Ukrainian
 Latvian
 Turkish
 Croatian
 Chinese (Simplified)
 Bulgarian